
Hellebores are enchanting flowers that often grace us with their blooms as winter begins to wane, injecting vibrant colors into a frosty landscape.
While you can buy splendid cultivars from nurseries, attempting to grow hellebores from seeds can be a thrilling venture, potentially leading to unique hybrids that reflect your personal touch.
Join expert hellebore grower Jerad Bryant as we delve into the art of cultivating these stunning blossoms from seeds.
The Beauty of Hellebores
These resilient plants serve as delightful winter highlights for shaded gardens.
Their ability to withstand frost and cold temperatures makes them ideal companions alongside evergreens like camellias, primulas, and daffodils, brightening otherwise dreary winter scenes.
While nurseries offer many hellebore varieties with distinct colors and flower forms, starting from seeds invites the possibility of new characteristics emerging in the next generation.
You might be surprised to find seedlings producing flowers adorned with unusual patterns—perhaps stripes or spots—while their petal arrangements may range from simple to intricately layered.
This guide will take you through every stage of the seed cultivation process—from pollination to tending your sprouts.
Whether you prefer a hands-off approach or prefer to play an active role, nature will assist you significantly in this journey.
Key Steps to Cultivating Hellebores
If you already have hellebore seeds, either from purchase or as a gift, feel free to jump to Step 5.
The first four steps will focus on deriving new hybrids from your existing plants.
Either way, you can expect new seedlings to appear within weeks after sowing.
Let’s get started!
Step 1: Choose Healthy Parent Plants
The journey begins with selecting robust parent plants, as the characteristics of your seedlings will be directly influenced by their lineage.
Hellebores possess the remarkable ability to self-pollinate, enabling a single plant to generate seeds alone.
However, using two separate plants can enhance the genetic diversity of the resulting seedlings.
During the pollination process, pollen travels through the style, ultimately reaching the ovules for fertilization.
This union of pollen DNA with egg cells sparks the creation of embryos, resulting in genetic diversity among your seedlings.
Step 2: Pollinate the Flowers
Thanks to their self-fertilizing nature, hellebores can effectively utilize their own pollen to fertilize their ovules.
If opting for a single plant, you won’t need to manage pollen sources.
However, if you’re using two different plants, you must first remove pollen-producing structures from the mother plant’s blooms.
You’ll need a few tools: small scissors, a fine paintbrush, and a container to capture pollen.
Transfer pollen from your selected father flower to another flower’s ovules to set off the fertilization process.
Step 3: Let the Embryos Mature
After the flowers have been pollinated, give the fertilized ovules time to mature into embryos protected by a seed coat.
As they grow, swollen structures called follicles will appear.
Patience is key, as it may take several months for the seeds to mature.
Once they are ready, remove any protective mesh bags that you had placed over the flowers.
From Seeds to Seedlings
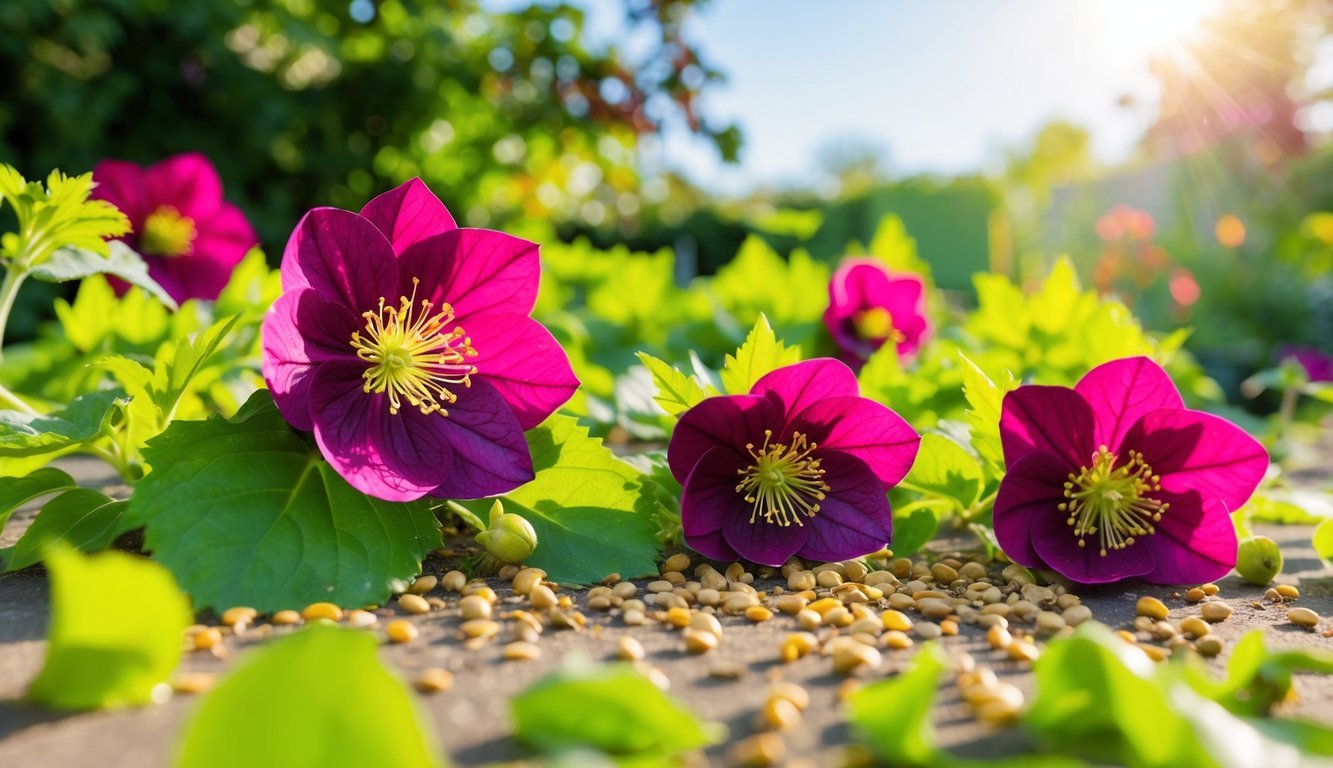
Typically, seeds will ripen between June and August, so be sure to gather them before they drop to the ground.
Ripe seeds are small, oval, and exhibit a distinctive wrinkled black appearance.
Carefully snip or pluck the mature seed pods from the flowers to collect the seeds.
Preparation is crucial for successful germination, whether you’re sowing hellebore seeds directly into the soil or starting them in containers.
For better outcomes, consider initiating them indoors.
Gather some containers, trays, and a quality potting mix or seed-starting medium.
Ensure the containers are deep and equipped with drainage holes to facilitate healthy growth.
Sowing the Seeds
Arrange your containers in a tray for ease of management.
In each pot, place two to three seeds in the center and cover them with about a quarter-inch layer of fine soil or perlite.
Keeping the covering moist is vital to prevent it from being disturbed.
Care for the Seedlings
Newly sprouted seedlings need attentive care.
Keep them outdoors in dappled sunlight until they start to germinate, then consider moving them to a cooler spot.
Ensure the soil remains consistently moist, complemented by filtered light for the best growth conditions.
Transplanting the Seedlings
Keep in mind that hellebores usually take a couple of years to flower.
Once the seedlings have developed their first true leaves, you may opt to transplant them into larger pots if needed.
Introducing the Seedlings to the Garden
When the threat of frost has passed, it’s time to place your seedlings in a shaded section of your garden.
Dig holes that are deep and twice the width of the root balls.
Position the seedlings so their roots are buried, and their stems stay above the soil.
Hellebores flourish in partial to full shade and thrive in cooler environments.
Frequently Asked Questions
- What’s the best time to sow hellebore seeds? The ideal timeframe for sowing is from June to August, with fresh seeds recommended for optimally high germination rates.
- How can you effectively store hellebore seeds? To save seeds, detach the dried pods from the flowers, open them, and allow the seeds to fall into a container.
Make sure the seeds are thoroughly dried before storing them for long-term use.
- What do hellebore seeds look like? Hellebore seeds are small, oval, black, with a distinctive wrinkled texture, making them easily identifiable.
With this guide in hand, you can embark on your hellebore-growing adventure, enjoying the thrill of nurturing these enchanting flowers from the ground up!
Source: Epicgardening