Starting a family vegetable garden can be a rewarding experience that brings the joy of home-grown produce right to my kitchen.
Not only does it provide fresh ingredients for meals, but it also offers a great opportunity for quality family time as everyone gets involved in planting and caring for the garden. This guide outlines seven easy steps to help me get started, ensuring I can cultivate a thriving vegetable patch that the whole family can enjoy.
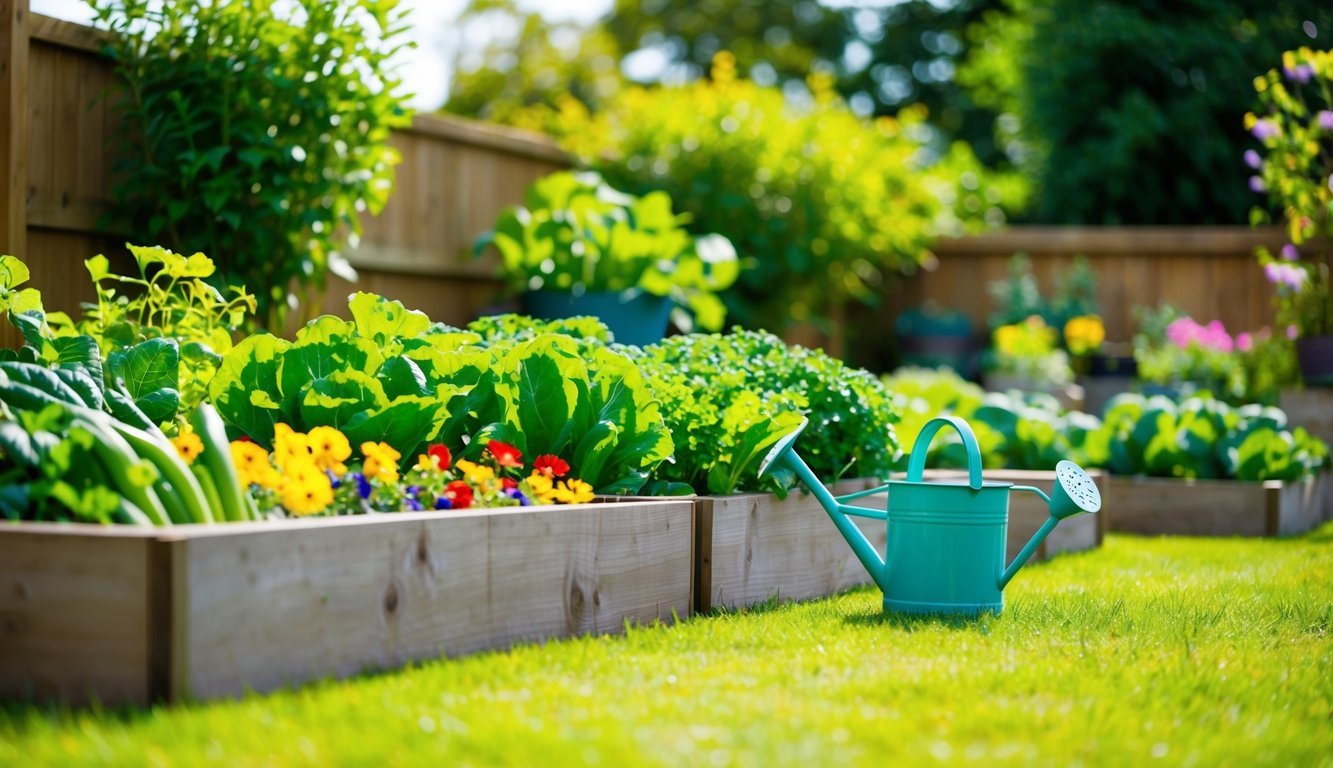
Whether I have a large backyard or a small patio, growing my own vegetables is more accessible than I might think.
With the right planning and a little bit of effort, I can create a space that not only provides food but also teaches valuable lessons about nature and sustainability.
1) Choose a sunny spot
Finding the right location for my vegetable garden is crucial.
I always look for a spot that gets plenty of sunlight, ideally 6 to 8 hours a day.
Sunlight helps my plants grow strong and healthy.
I prefer south-facing areas because they tend to receive the most light throughout the day.
If I can avoid shaded spots from trees or buildings, that’s even better.
I try to visualize how the sun moves across my yard.
This way, I can pick a spot that remains bright and warm for most of the day.
Sometimes, it’s helpful to mark the potential areas and observe them for a few days.
That helps me see where the sun shines the longest.
Choosing the right sunny spot makes a big difference in my gardening success.
It’s a simple step, but it sets the foundation for a thriving vegetable garden.
2) Test your soil
Testing my soil was one of the first things I did when starting my vegetable garden.
It helps me understand what my garden needs to thrive.
I began by taking several samples from different areas in my garden.
I used a spade to dig about 6 inches deep to get a good mix of the soil layers.
Next, I placed the samples in a bucket and removed any debris, like rocks or roots.
This step is crucial for an accurate assessment.
After mixing the samples, I let the soil air dry for a few days.
This made it easier to analyze.
Knowing the soil’s pH and nutrient levels is essential.
I often take my samples to a local extension service for testing.
They provide valuable insights that guide my planting decisions.
3) Decide what to plant
Choosing what to plant in my vegetable garden is exciting.
I usually think about my family’s favorites.
This ensures everyone enjoys the harvest.
Consider starting with a few easy-to-grow vegetables like tomatoes, lettuce, or carrots.
These veggies are pretty forgiving for beginners.
Plus, they add variety to our meals.
I also think about the space available in my garden.
If it’s small, I might plant things like herbs or compact varieties.
My tip is to pick around three to five different vegetables so I don’t get overwhelmed.
Another idea is to grow crops that are high-yield.
Vegetables like zucchini or peppers can produce a lot in a small area.
It’s always nice to get a good return on what I plant.
Lastly, I check what’s in season.
Planting what’s best for the time of year helps with growth.
I take the time to plan this out to ensure a successful garden!
Start small and expand
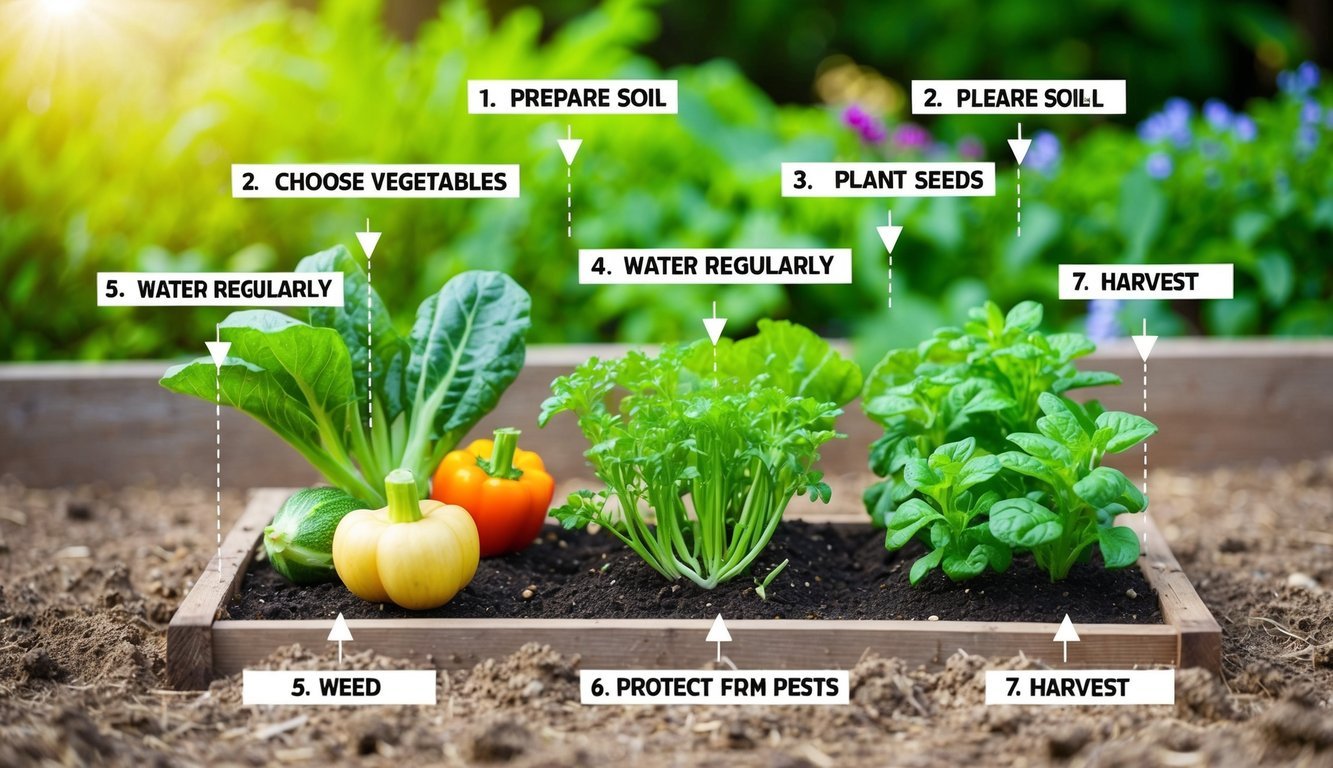
When I first started my vegetable garden, I realized that starting small was the best approach.
It’s easy to get excited and envision a large garden, but managing a tiny plot is much more manageable.
I suggest picking just a few easy-to-grow vegetables, like tomatoes or spinach, to begin with.
This way, I could focus on learning the basics without feeling overwhelmed.
Once I got the hang of things, I felt confident enough to expand my garden.
Adding a few more plants each season helped keep my enthusiasm alive.
I also learned what worked well in my space, which made planning for the future easier.
Starting small lets me experiment with different plants and growing methods.
If something doesn’t thrive, it’s not the end of the world.
I can adjust and try again next year.
As my skills improve, so can the garden.
Gradually increasing the size allows me to enjoy the process while still enjoying fresh produce each season.
Plus, it’s exciting to see what I can accomplish over time!
Build raised beds
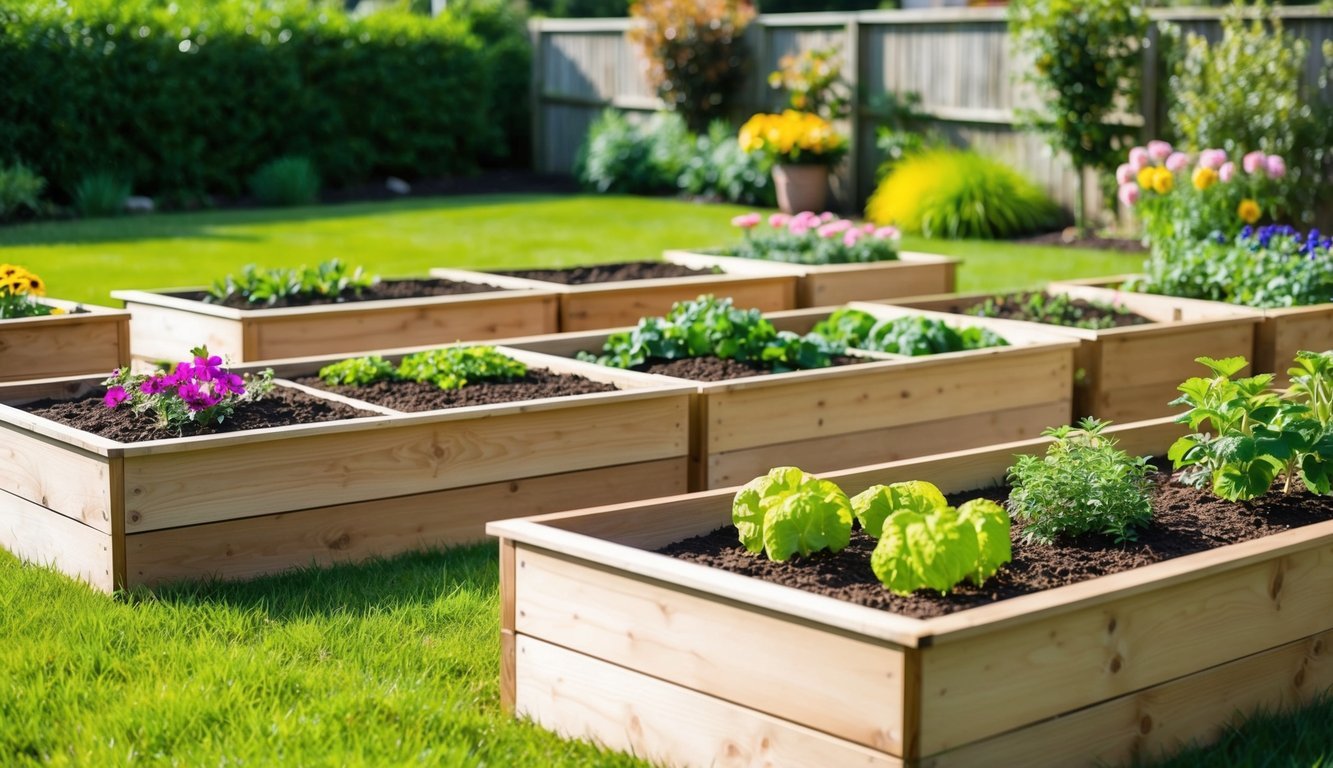
Building raised beds is one of the best ways to start my vegetable garden.
They’re easy to construct and offer several advantages.
First, raised beds improve drainage.
This helps prevent waterlogging, which is great for my plants’ roots.
I can easily manage the soil quality by filling the beds with high-quality soil.
Another perk is the reduced strain on my back and knees.
Tending to plants at a higher level makes gardening much more comfortable.
I like to create raised beds using wood.
Typically, I use 2×6 boards.
It’s important to remember that their actual dimensions will be slightly smaller than labeled, so I account for that when building.
To get started, I measure and cut the boards to my desired dimensions.
Then, I assemble the frame with sturdy corners.
After that, I lay down some cardboard at the bottom to block weeds before adding soil.
Raised beds also help control weeds and make it easier to manage pests.
I find that I can tend to my plants with less hassle and more productivity.
Once the beds are built and filled, I’m ready to plant!
6) Plan proper spacing
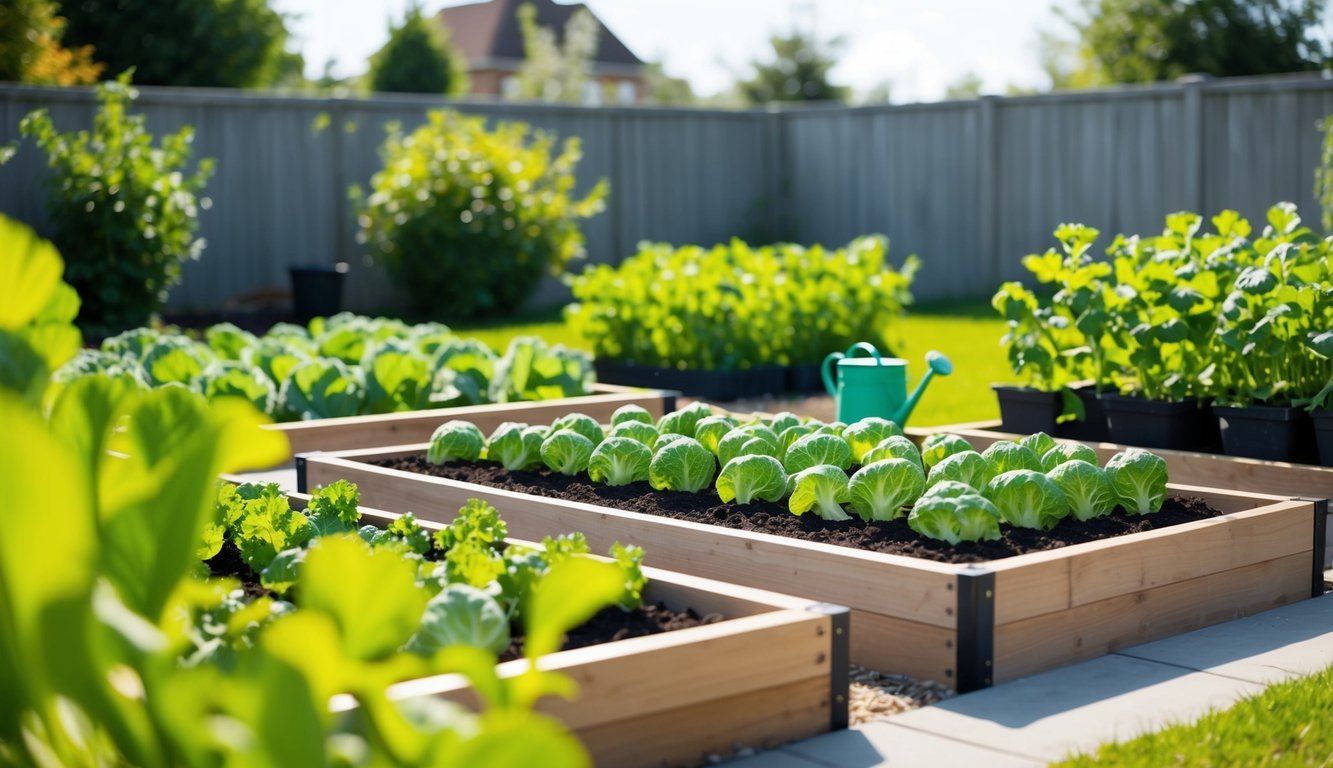
Planning proper spacing in my vegetable garden has made a big difference.
I learned that adequate space between plants allows them to grow without overcrowding.
This helps ensure each plant receives enough sunlight and airflow.
I usually aim for about 12 to 18 inches between larger plants like tomatoes and peppers.
For smaller crops, like radishes and lettuce, I keep about 6 inches between them.
This spacing prevents competition for nutrients and water.
I also make sure to create paths between the beds.
A 2-foot-wide path works well for easy access when I need to weed or harvest.
I sometimes use grass for paths or cover them with mulch.
Choosing suitable pathways not only improves access but also helps in disease and pest management.
Proper planning makes my gardening experience much more enjoyable and efficient.
7) Use quality seeds
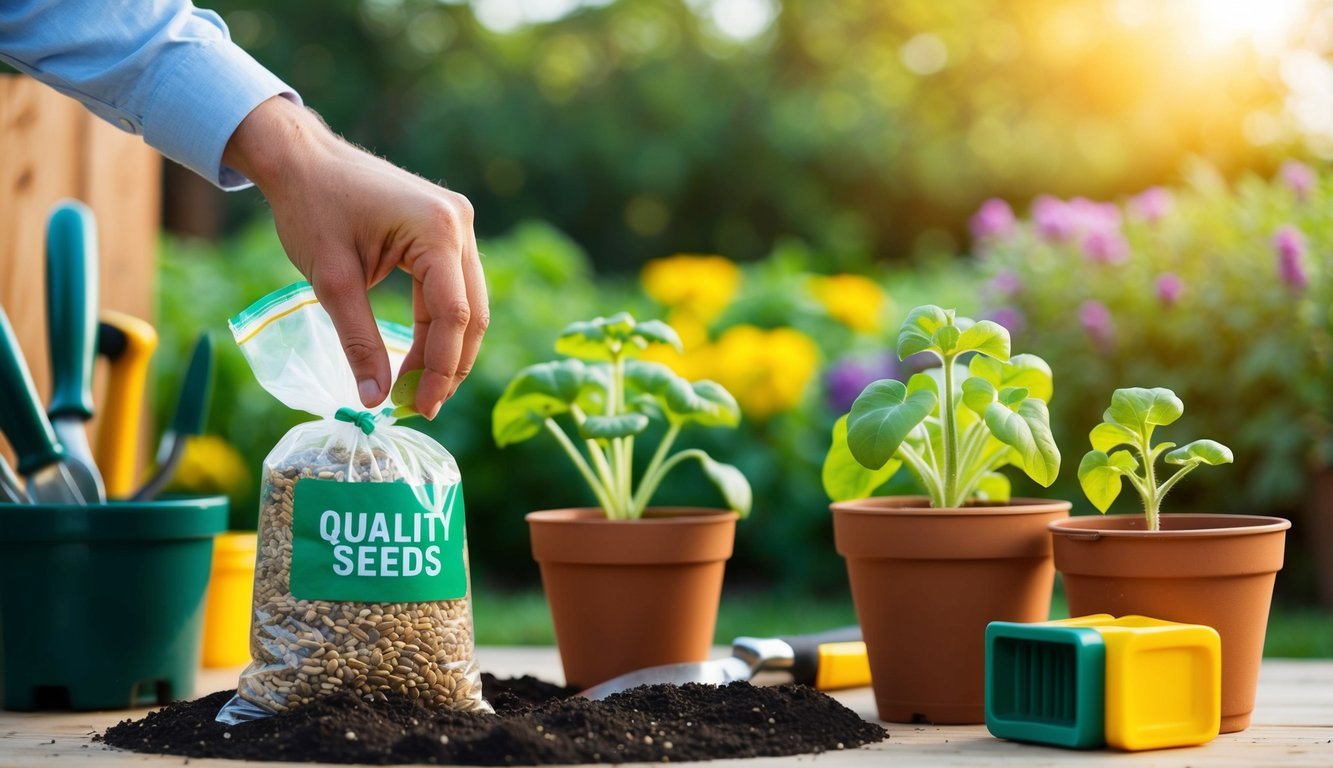
When starting my vegetable garden, I realized the importance of using quality seeds.
Choosing the right seeds can make a big difference in the success of my garden.
I prefer to buy seeds from reputable suppliers.
They often provide information about the seed’s origin and growing conditions.
This way, I know I’m getting something that has a higher chance of thriving.
I also pay attention to seed varieties.
Some are specifically bred for certain climates or disease resistance.
This knowledge helps me select the best options for my local environment.
Reading reviews can be helpful too.
It gives me insights from other gardeners about their experiences with specific seeds.
This can guide me in my choices.
Lastly, I always check the expiration date on seed packets.
Fresh seeds typically have higher germination rates, so I make sure I’m planting seeds that are still viable.
Investing a little extra time in seed selection pays off with a healthier and more productive garden.
Choosing the Right Location
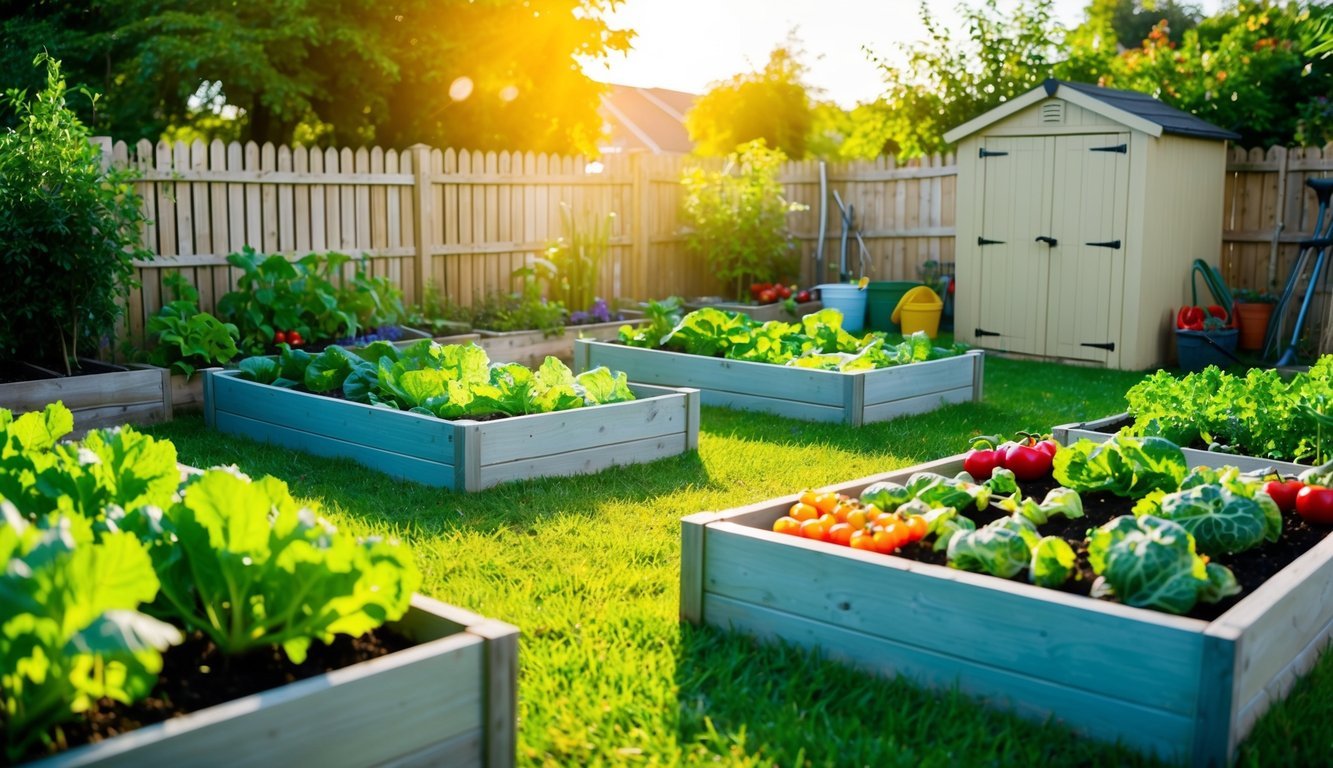
Finding the perfect spot for my vegetable garden is crucial to ensuring my plants thrive.
Two key factors to consider are the amount of sunlight the area receives and its proximity to a water source.
Let’s dive into those details.
Sunlight Considerations
I’ve learned that most vegetables need at least six hours of direct sunlight each day.
If I want my plants to grow strong and healthy, I always look for areas that get plenty of light.
Here’s a quick checklist to help me assess my garden spot:
- Full Sun: Perfect for vegetables like tomatoes and peppers.
- Partial Shade: Suitable for leafy greens like spinach or lettuce.
- Morning Sun: It can benefit plants as the cooler morning light prevents overheating.
If I can, I position taller plants to the north or west so they don’t shade out the shorter ones.
Observing the sunlight patterns in my yard helps me make the best choice.
Proximity to Water Source
Access to water is another top priority for me.
Keeping my garden hydrated, especially during dry spells, is essential for healthy growth.
Here are a few things to consider:
- Location of Hose Spurs: If I have a spigot nearby, it makes watering easier.
- Natural Water Flow: I note areas where rainwater collects, as these can help with drainage and moisture retention.
When planning my garden layout, I try to avoid spots that are too far from a water source.
Setting up a rain barrel can also be a smart way to collect and store water efficiently.
This ensures my plants always have the hydration they need to flourish.
Soil Preparation
Preparing the soil is a crucial first step in starting my family vegetable garden.
I want to ensure that my plants have a healthy environment to thrive.
I’ll focus on testing the soil and the option of creating raised beds, both of which will set my garden up for success.
Testing and Amending Soil
To achieve optimal growing conditions, you must test the soil.
Use a soil test kit to check for pH levels and nutrient deficiencies.
Most vegetables prefer a pH between 6.0 and 7.5.
If the soil is too acidic or alkaline, you might need to add lime or sulfur to balance it out.
Once you’ve identified any nutrient gaps, you can amend the soil.
For instance, if the test shows low nitrogen, incorporate a nitrogen-rich fertilizer or organic matter like compost.
Here’s a quick checklist to follow:
- Test the soil for pH and nutrients.
- Amend with compost, peat, or fertilizer as needed.
- Turn the soil at least 8-10 inches deep to mix in the amendments.
This groundwork will provide an excellent start for your vegetable plants.
Creating Raised Beds
Raised beds are another great option for my garden.
They offer excellent drainage and a controlled environment, which can be a game-changer for my vegetables.
To build a raised bed, I can frame it with untreated wood or stones.
I need to ensure it’s at least 12 inches deep for root growth.
After deciding on the bed layout, I fill it with a mixture of soil.
A common blend is one-third topsoil, one-third compost, and one-third coarse sand or perlite.
This mix provides nutrients and prevents soil compaction.
Here are a few tips for creating raised beds:
- Choose a location with adequate sunlight (at least 6 hours daily).
- Ensure good drainage by elevating the bottom or adding gravel.
- Mulch on top to retain moisture and suppress weeds.
Building raised beds not only makes gardening easier, but it can also enhance the overall look of my garden space.

