
Growing fresh herbs at home can be a game-changer for anyone who loves to cook. They add flavor and flair to quick meals, turning even the simplest dishes into culinary delights. I’ve found that with just a few easy steps, I can have a variety of herbs at my fingertips, enhancing everything from salads to sauces.
Herbs are not only great for flavor, but they’re also incredibly rewarding to grow.
With a little sunlight, some decent soil, and a bit of water, my herb garden thrives, providing me with fresh ingredients whenever I need them.
It’s a straightforward process that ultimately elevates my cooking experience.
1) Choose easy-to-grow herbs
When I started my herb garden, I focused on choosing easy-to-grow herbs.
This made the whole process enjoyable and less stressful.
Some great options are basil, cilantro, and chives.
Basil thrives in full sun and adds a fresh flavor to many dishes.
I love using it in pasta and salads.
Cilantro is versatile and can enhance various cuisines, from Mexican to Indian.
It grows quickly and can be harvested multiple times.
Chives are another favorite.
Their mild onion flavor is perfect for garnishes and dips.
Plus, they require minimal care.
I also found dill to be a rewarding choice.
It grows tall and needs some space, but it’s excellent in salads and as a seasoning.
Fennel caught my attention too.
With its unique flavor and attractive foliage, it makes a lovely addition to both the garden and my meals.
Starting with these herbs helped me build my confidence and get more comfortable with gardening.
2) Use well-draining soil
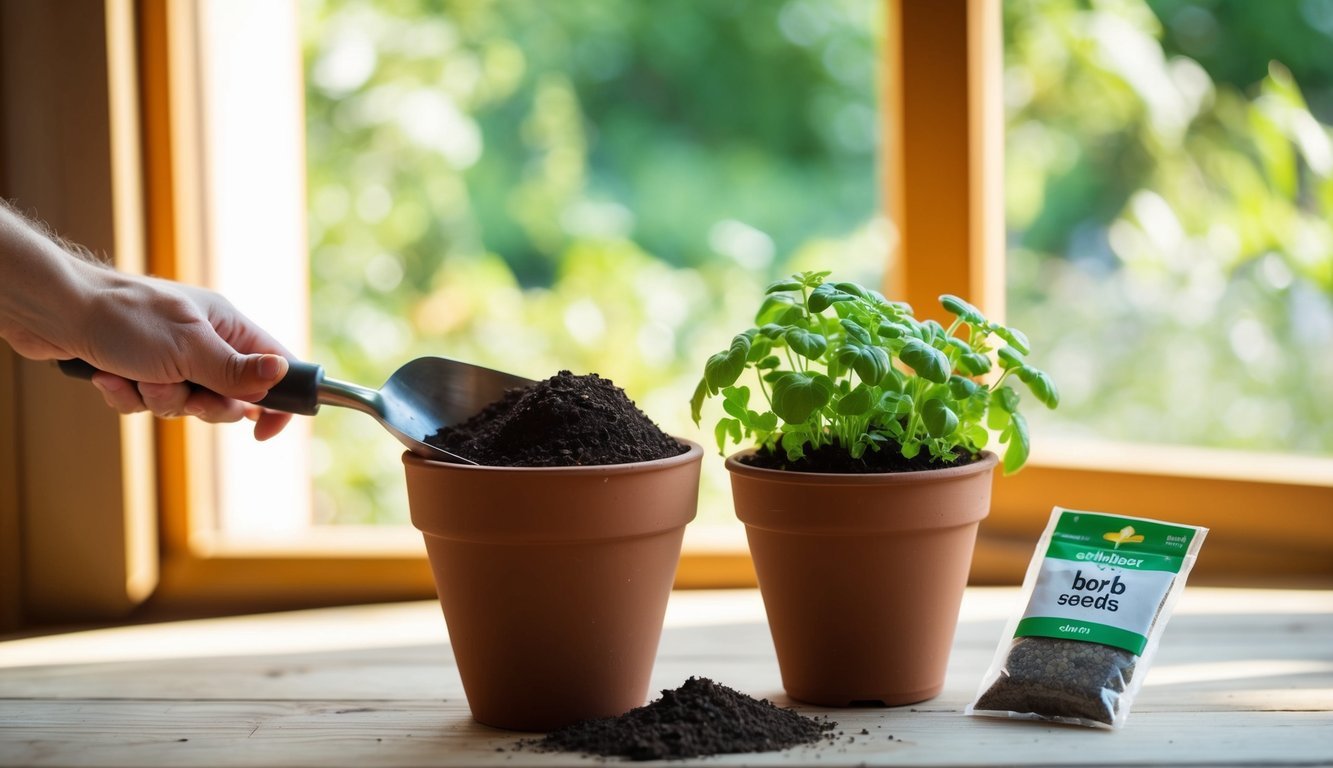
When I set up my herb garden, I always make sure to use well-draining soil.
Herbs, especially those in the mint family, can be sensitive to overwatering.
If the soil retains too much moisture, it can lead to root rot.
I typically aim for a mix that allows for good drainage.
A combination of potting soil, perlite, or sand works wonders.
This blend helps air circulate and keeps the roots healthy.
Before planting, I often work the soil to a depth of about 12-18 inches.
I also remove any rocks or clumps that could hinder drainage.
I’ve found that checking the moisture level is crucial.
I stick my finger into the soil, about an inch deep, to see if it’s time to water.
This simple practice helps me avoid soggy conditions and keeps my herbs thriving.
Using quality soil creates a strong foundation for my herbs, and I’ve enjoyed healthy growth as a result.
Plus, my dishes taste so much fresher with herbs grown in the right environment!
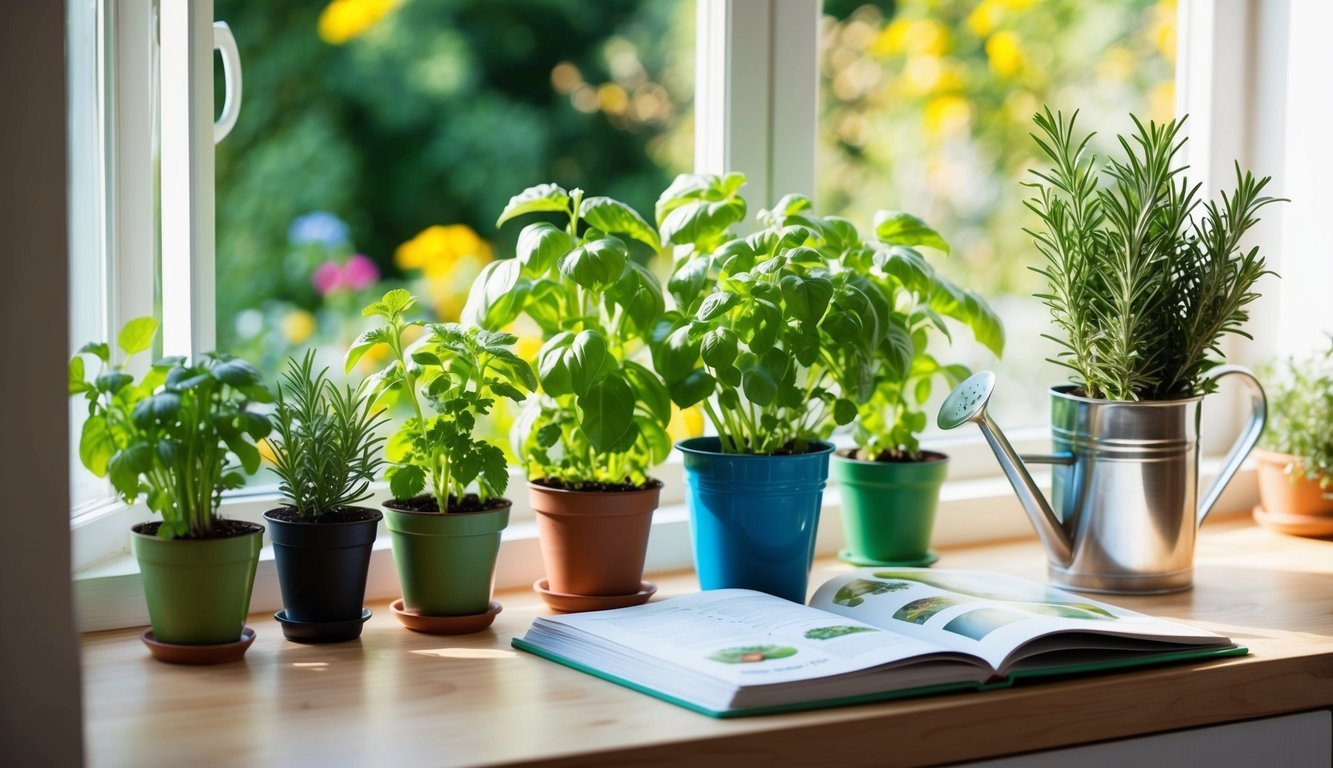
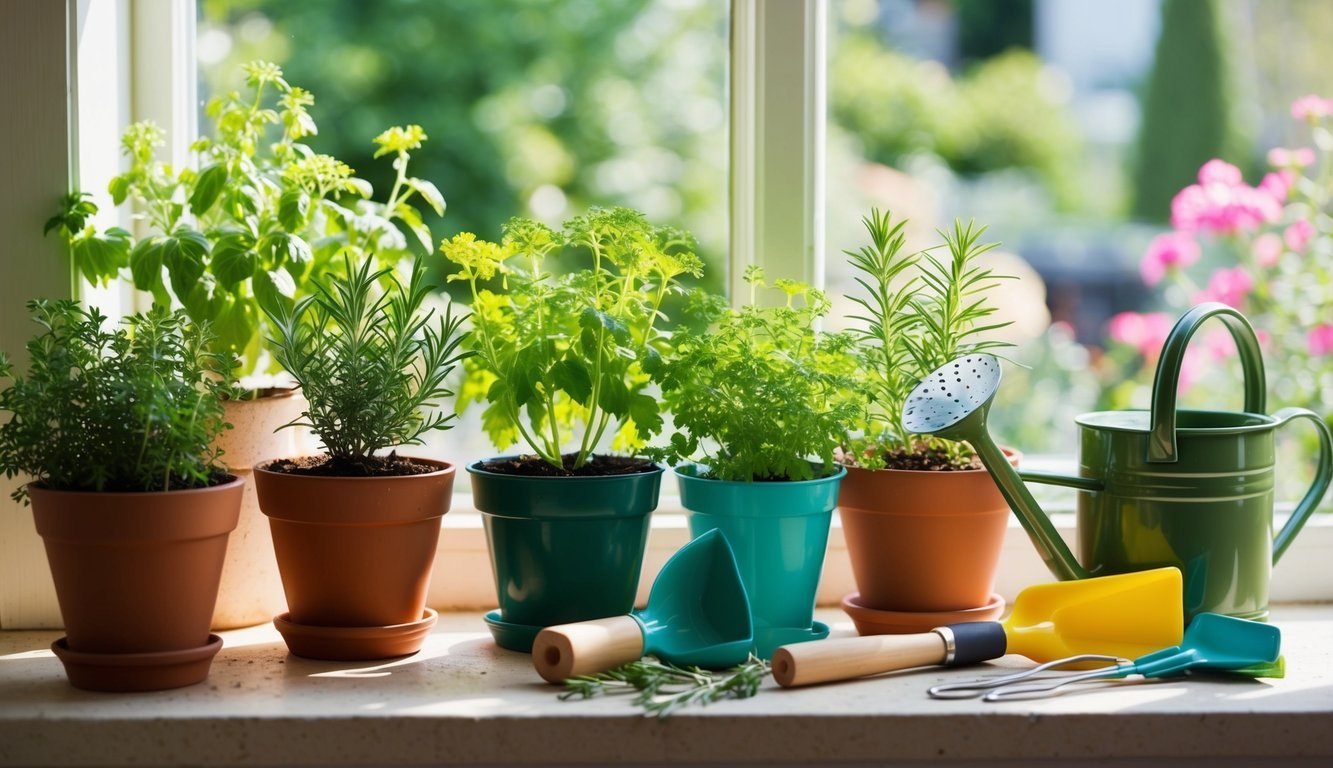
3) Find a sunny spot
Finding the right spot for my herbs is crucial.
I prefer a bright, sunny location to help them thrive.
A south-facing window works best, but I’ve also had success with large, bright west or east windows.
When I place my herbs in direct sunlight, they tend to grow stronger and healthier.
I rotate my plants regularly to ensure even exposure to light.
This helps create robust growth all around.
If I notice my herbs starting to lean towards the light, I adjust their position.
It’s simple adjustments like these that keep them growing well.
Paying attention to how much sunlight they receive can make a big difference in my success.
I try to give my herbs at least six hours of light each day.
With the right spot, I find my herbs flourish and provide fresh flavor for my quick meals.
4) Water consistently
Keeping my herbs hydrated is key to having fresh ingredients on hand.
I make sure to check the water level regularly, especially if I’m growing them in jars.
For herbs growing in water, I change the water every 1-2 weeks.
This keeps it fresh and helps prevent any rot.
I also trim any leaves that might touch the water since they can decay and affect my herbs.
If I’m planting in soil, I aim for a moist but not soggy consistency.
I water when the top inch feels dry.
Each herb might have slightly different needs, so I adjust based on how they look.
Listening to my plants is essential.
If the leaves start to droop, it’s a sign they need more water.
By keeping an eye on them and watering consistently, I can enjoy a thriving herb garden that enhances my meals.
5) Harvest regularly

I make it a point to harvest my herbs often.
Regular harvesting encourages plants to grow fuller and bushier.
If I wait too long, my herbs might become woody or less flavorful.
I always check the leaves and stems for the right time to cut.
It’s best to harvest when the leaves are dry to avoid any issues with mold or mildew.
This keeps my herbs fresh and healthy.
When I harvest, I take only what I need.
This way, the plant continues to thrive, and I have a steady supply for my meals.
I usually prune a few leaves or stems at a time, which promotes new growth.
Timing is key.
For many herbs, the best flavor comes just before they flower.
I keep an eye on my plants and take advantage of these peak moments.
By following this simple practice, I enjoy abundant, tasty herbs throughout the growing season.
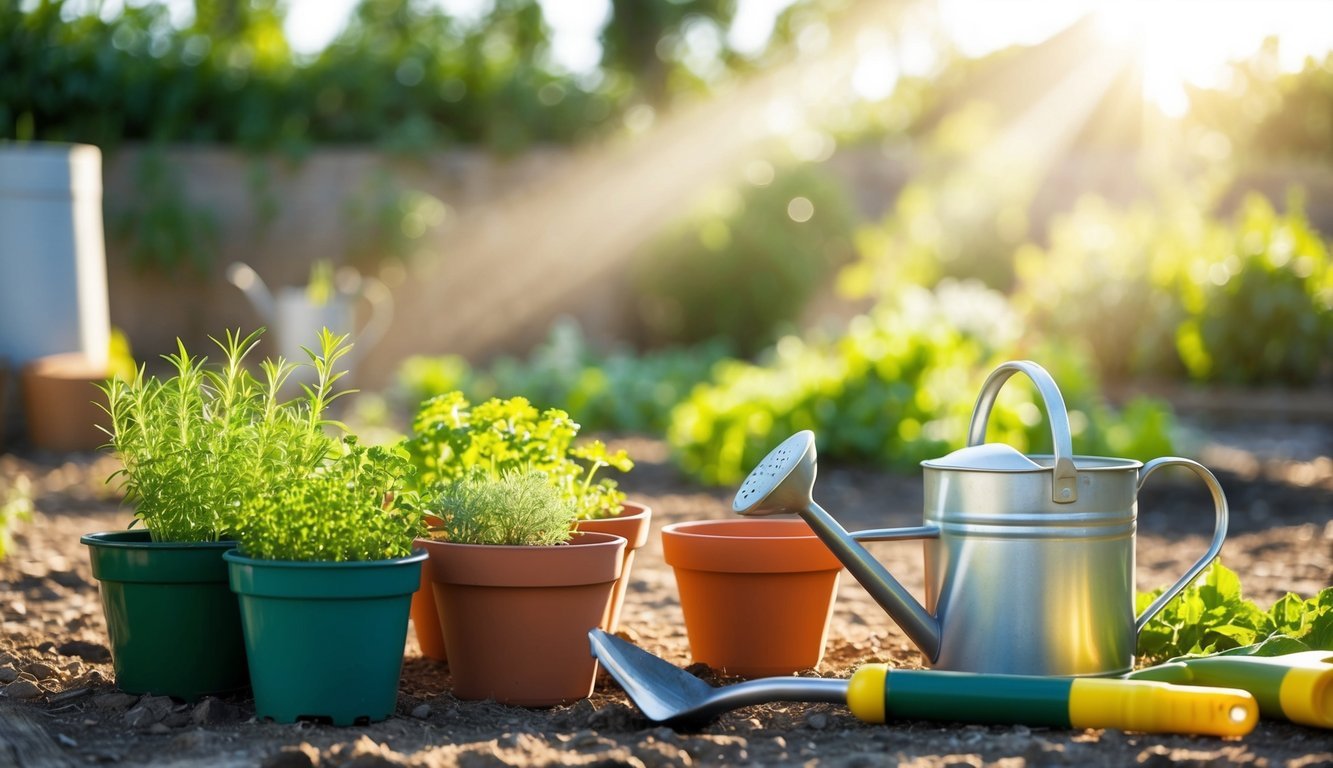
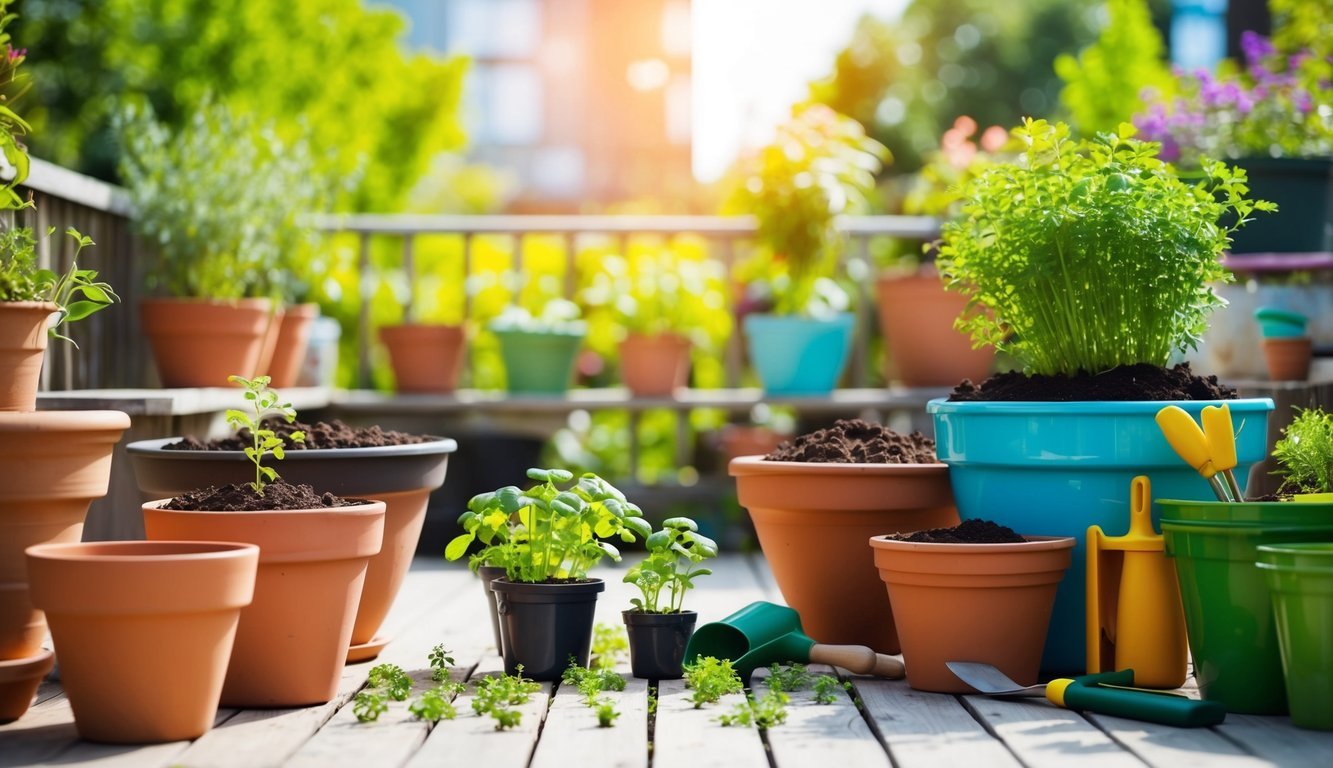
6) Try container gardening
I’ve found that container gardening is a fantastic way to grow fresh herbs, especially if space is limited.
It allows me to keep my plants close, making it easy to grab what I need while cooking.
Choosing the right containers is key.
I prefer pots with good drainage to prevent overwatering.
Herbs like basil, parsley, and thyme thrive in pots and can do well with relatively little space.
Moving my containers around also lets me control sunlight.
Some herbs need full sun, while others do fine in partial light.
I can adjust their position based on the season to ensure optimal growth.
I always use high-quality potting soil for better drainage and nutrition.
When I plant, I loosen any tangled roots gently and place the herb at the same level it was in its nursery pot.
Watering in containers requires attention; they can dry out quicker than garden beds.
Keeping them moist, especially on warmer days, helps my herbs flourish.
Plus, the compact size of container plants makes harvesting easy and quick!
7) Use organic fertilizer
Using organic fertilizer is a vital step in growing fresh herbs.
I like to choose a quality organic option to ensure my herbs thrive without harmful chemicals.
When I fertilize, I usually do it sparingly.
For most herbs, one application in the spring is enough to give them a boost.
I prefer using products like Plantura organic universal fertilizer, which helps maintain the plants’ aroma and health.
If I’m feeling adventurous, I sometimes make my own fertilizer.
A simple mix of Epsom salt and water does wonders.
Just two tablespoons of Epsom salt in a gallon of water is all I need.
I apply this mixture around my herbs for a nutrient boost.
The key is not to overdo it.
Over-fertilizing can harm my herbs, making them less flavorful.
I find that consistency is vital for the best results.
A little care goes a long way in helping my herbs flourish and taste great.
Choosing the Right Herbs
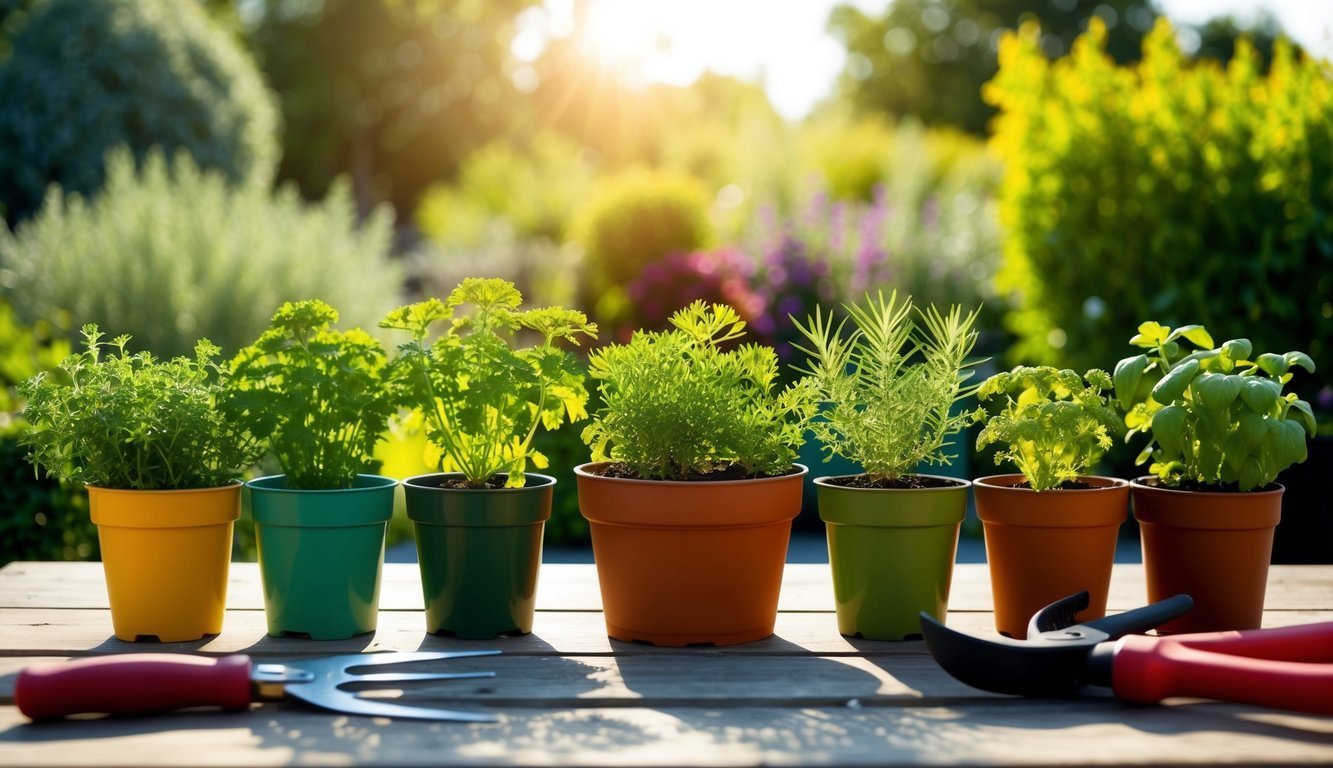
Selecting the right herbs can make a significant difference in your cooking and gardening success.
I’ll cover some of the best herbs for beginners and what factors I consider when choosing the right ones for my space.
Best Herbs for Beginners
If you’re new to growing herbs, there are a few that I find particularly easy and rewarding.
Here’s a short list:
- Basil: A must-have for pesto and salads. It thrives in warm weather and is quite forgiving.
- Parsley: Not only does it look great, but it’s versatile in recipes and grows well in pots.
- Chives: Their mild onion flavor adds a fresh touch to dishes. Plus, they’re perennial, so they come back year after year.
- Cilantro: Great for salsa and other dishes. Keep in mind it bolts quickly in heat, so timing matters.
- Mint: This one spreads easily, so it’s best grown in a pot. It’s perfect for teas and desserts.
These herbs are not only simple to grow but also enhance a variety of dishes.
Factors to Consider When Selecting Herbs
When I’m picking herbs, I look at a few key factors.
First is the climate.
Some herbs, like basil, love the sun and warmth, while others, like chives, can tolerate cooler temperatures.
Next, I think about space.
If I have limited room, compact herbs like chives or cilantro are great choices.
Searching for flavors I enjoy helps too.
I always consider how I’ll use the herbs in my cooking.
Lastly, I check the growing season.
Some herbs grow best in spring, while others can be grown year-round.
Researching or asking local gardeners can help spot the best options for my region.
Setting Up Your Herb Garden
Creating a thriving herb garden can be straightforward once you know where to start.
I find it essential to decide whether I want an indoor or outdoor setup and gather the necessary tools and supplies for success.
Indoor vs Outdoor Herb Gardens
When I think about setting up my herb garden, the first consideration is whether to go indoors or outdoors.
Indoor herb gardens are great for small spaces and offer more control over the environment.
I can place them on a sunny windowsill or use grow lights to ensure they get enough light.
Outdoor gardens can provide more room and natural sunlight, making herbs flourish more freely.
I usually choose a spot with well-draining soil and good sunlight.
If I’m in a cooler climate, I make sure to plant herbs after the last frost to avoid damage.
Both options have their perks, so I assess my space and lifestyle to find what works best for me.
Essential Tools and Supplies
To get started with my herb garden, I gather a few essential tools and supplies.
Here’s what I typically need:
- Containers: If I’m planting indoors, I choose pots with drainage holes. For outdoor gardens, raised beds or direct soil planting works well.
- Soil: Quality potting soil or amended garden soil is key for healthy growth. I often mix in compost for added nutrients.
- Watering can: I use a watering can that provides a gentle pour to keep my herbs hydrated.
- Gardening gloves: Protecting my hands while planting and maintaining the garden helps me enjoy the process more.
- Scissors or pruners: These come in handy for harvesting and keeping my herbs tidy.
Having these tools ready ensures I’m properly equipped to cultivate a flourishing herb garden.
Caring for Your Herbs
Caring for my herbs is vital for their growth and flavor.
I focus on watering and feeding them properly, as well as using effective pruning and harvesting techniques.
Here’s what I’ve learned.
Watering and Feeding Tips
I make sure to check the soil moisture regularly.
Most herbs thrive in well-drained soil, so I water them only when the top 50% is dry.
Overwatering can lead to root rot, which I avoid at all costs.
In terms of feeding, I rely on organic fertilizers.
I usually apply my fertilizer every four to six weeks during the growing season.
This helps give my herbs the nutrients they need.
It’s essential to follow the instructions on the fertilizer package to avoid over-fertilizing, which can harm the plants.
Pruning and Harvesting Techniques
Pruning my herbs is a key part of keeping them healthy and productive.
I often pinch off 2-3 inches of stem tips.
This encourages bushier growth and improves the plant’s overall health.
It also increases leaf production.
When it comes to harvesting, I prefer to do it in the morning when the flavors are at their peak.
I cut stems just above a leaf node, which encourages new growth.
If I notice flowers forming, I pinch them off to maintain the herbs’ flavor and energy.
This keeps my herbs vibrant and ready for use.