Transforming an urban rooftop into a green space is an exciting project that can enhance both your living environment and your quality of life.
With some planning and creativity, you can create a vibrant oasis that not only beautifies your home but also promotes sustainability and healthy living.
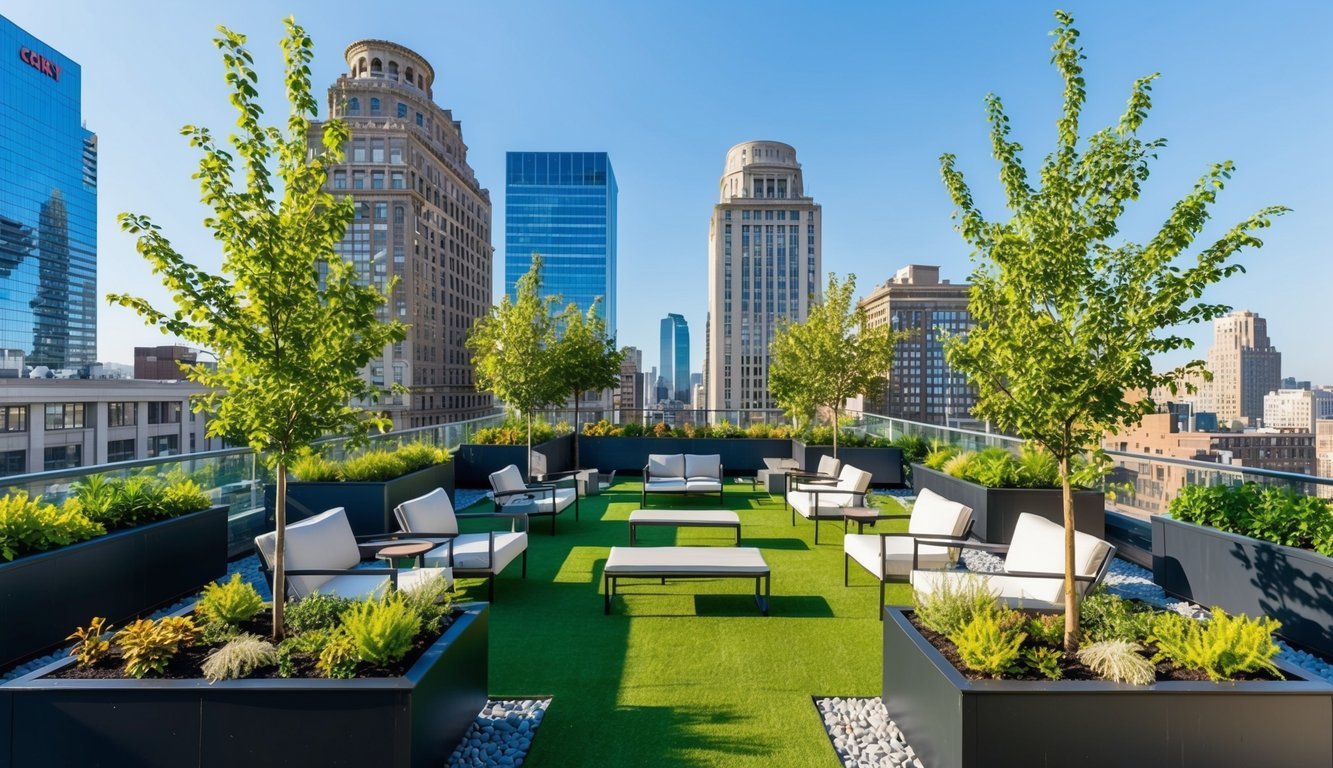
I’ve often found myself dreaming about the potential my rooftop holds.
It’s more than just a space above my head; it’s an opportunity to cultivate a garden that can thrive even in the city, turning unused space into something wonderful and functional.
Install Raised Garden Beds
Setting up raised garden beds has been one of my favorite parts of transforming my rooftop.
They’re great for maximizing space while providing the right conditions for plants to thrive.
I started by choosing materials like untreated wood or metal.
I made sure they’re sturdy enough to hold soil and plants without risking my roof’s integrity.
Next, I measured the dimensions based on what I wanted to grow.
Giving enough room for plants to spread out is crucial.
I also left some space between the beds for easy access.
To ensure proper drainage, I drilled holes in the bottom of each bed.
This way, excess water can escape, preventing any water buildup that could damage the roof.
Finally, I filled the beds with a quality potting mix.
It’s essential to use a blend that retains moisture but drains well.
Now, I’m ready to plant my herbs and vegetables in these cozy raised beds!
Choose Native Plants
When I started my rooftop garden, choosing native plants made a big difference.
Native plants are adapted to the local climate and soil conditions, which means they typically require less water and care.
I love how these plants support local wildlife, too.
They attract pollinators like bees and butterflies, adding life to my green space.
Plus, they usually resist pests better than non-native species.
Another benefit is that native plants are often drought-tolerant.
This is super important for a rooftop where exposure to sun and wind can be intense.
I’ve found that using a mix of native flowers, grasses, and shrubs keeps my garden vibrant and healthy.
Before planting, I looked up local native plant lists to ensure I was picking the best options.
I went for a variety of colors and textures, making my rooftop not just eco-friendly but also aesthetically pleasing.
Set Up Rainwater Harvesting
Setting up a rainwater harvesting system on my rooftop has been a game changer for my garden.
It’s a simple way to make the most of natural resources while reducing water costs.
I started by installing a collection system, typically using gutters that direct rainwater into barrels or a tank.
This setup captures the rain that falls on my roof, which I can then use to water my plants.
Next, I ensured the barrels have a secure lid to prevent debris and mosquitoes from getting in.
Adding a filter to the inlet helps keep the water clean and ready for use.
When it rains, I watch my barrels fill up, and it feels great knowing I’m using what nature provides.
I also find that using this collected water is beneficial for my plants since it’s free from chemicals found in tap water.
Maintaining the system is straightforward.
I periodically clean the gutters and check for any blockages to keep everything running smoothly.
This little effort pays off with lush, healthy plants and a more sustainable gardening experience.
Use Lightweight Soil
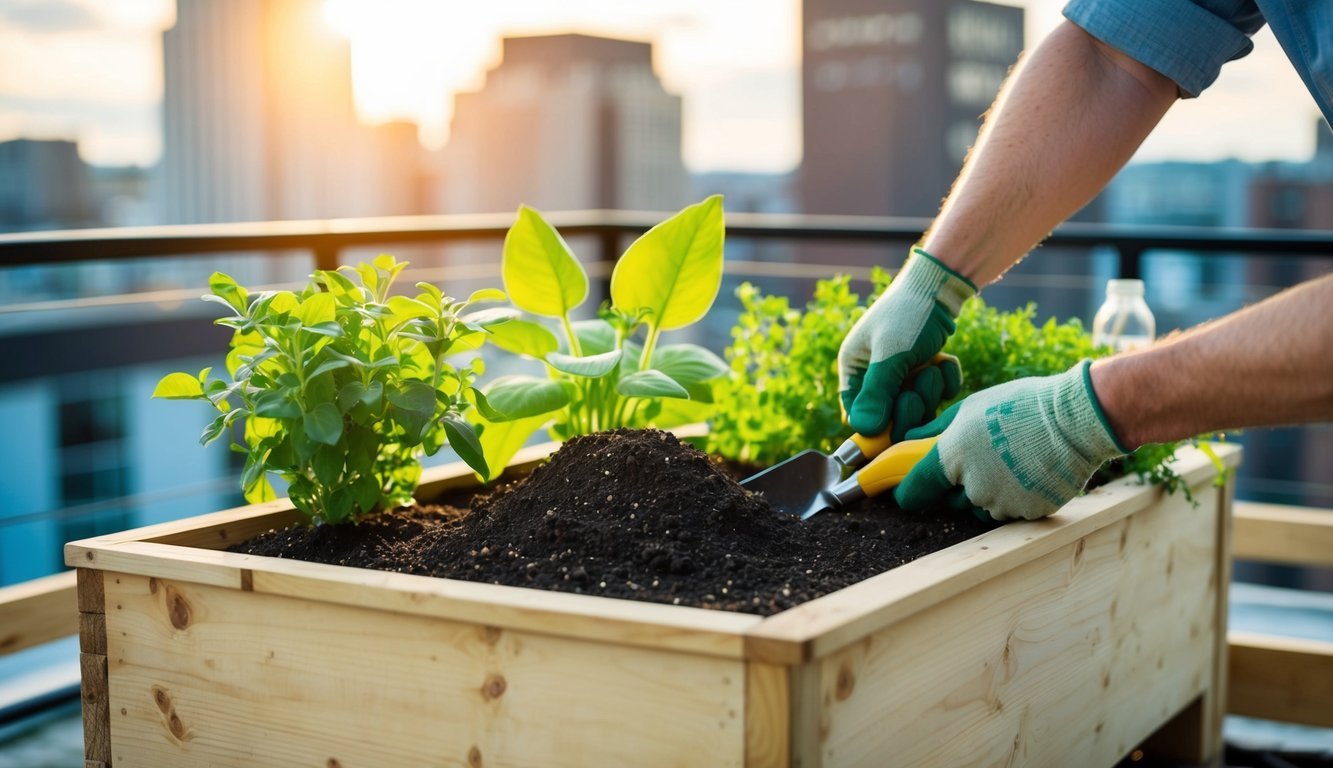
When I’m setting up my rooftop garden, I focus on using lightweight soil.
Regular garden soil can be too heavy for rooftops.
Instead, I opt for a mix that includes potting soil, compost, and perlite.
Using a lightweight potting mix is key.
It helps with drainage while still providing the nutrients my plants need.
I usually go for a mix that’s about 60% potting soil, 30% compost, and 10% perlite.
This combination keeps the weight down and allows air to circulate around the roots.
I’ve found that it keeps my plants healthy and thriving.
Don’t forget to leave some space at the top of your containers for watering.
This prevents overflow and keeps the soil from getting too compacted.
By choosing the right soil, I create a better environment for my plants while keeping my roof safe and stable.
Add Composting Bins
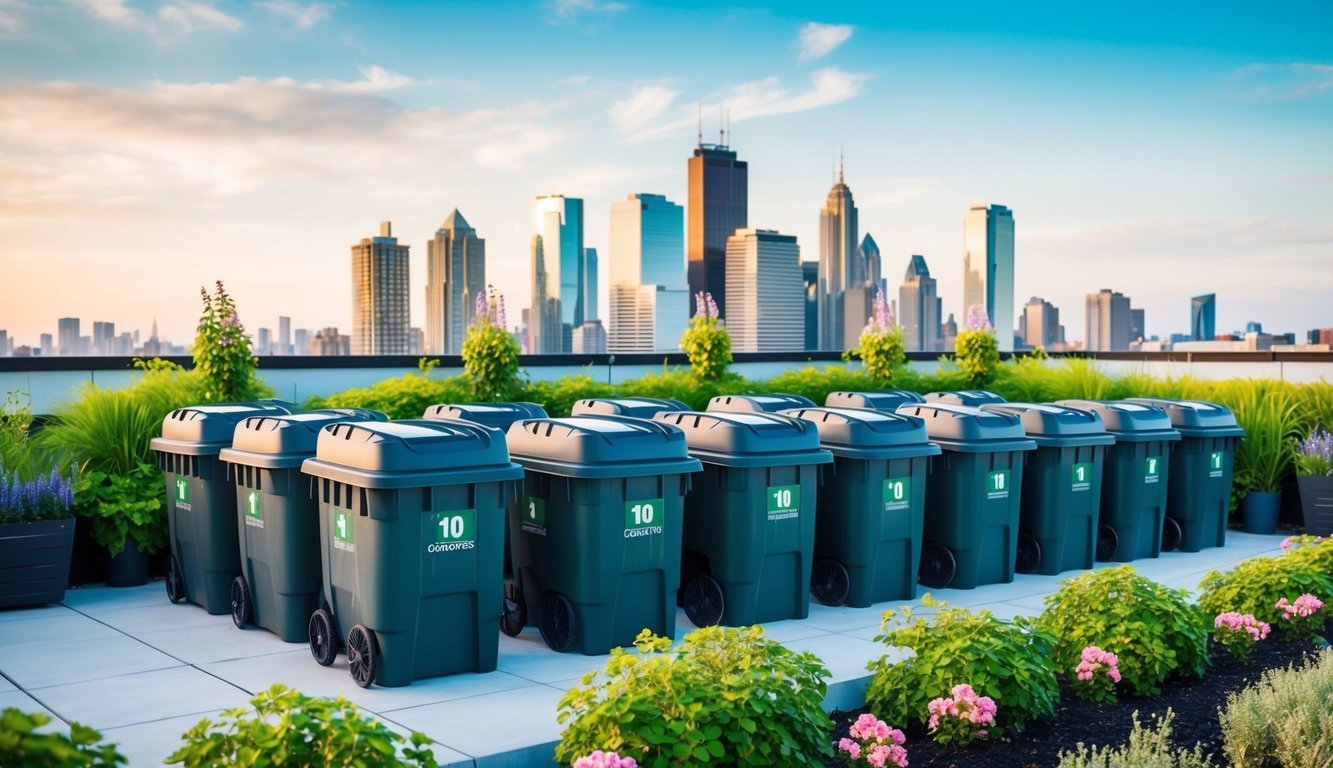
Adding composting bins to my rooftop garden is one of the best decisions I’ve made.
It helps reduce waste while providing nutrient-rich compost for my plants.
I started with a small, airtight bin to keep the smell down and pests away.
Kitchen scraps like vegetable peels and coffee grounds work great.
I balance this with browns like dried leaves or cardboard to avoid any excess moisture.
Location matters, so I put my bin where it gets some sun.
This helps speed up the composting process.
Turning the compost every few weeks keeps it aerated and helps break everything down faster.
I love how I can transform waste into something beneficial for my garden.
Plus, it adds a sustainable touch to my urban space, reducing my environmental footprint.
With a little effort, I get rich compost that my plants thrive on.
6) Create A Flexible Seating Area
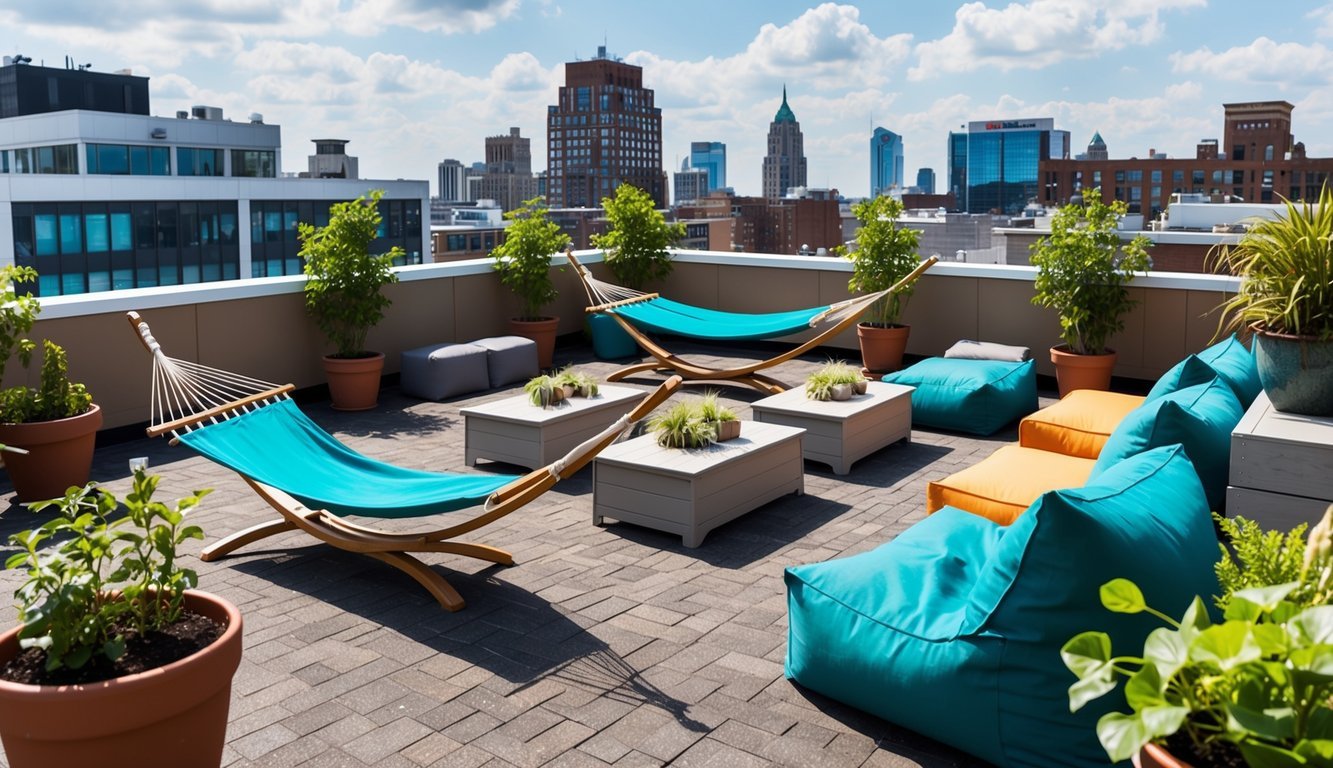
When I think about a rooftop garden, I envision a cozy spot to relax and enjoy the view.
Creating a flexible seating area can make a huge difference in how I use the space.
I often choose lightweight, movable furniture to allow for easy rearranging.
Things like folding chairs or portable benches work perfectly.
This way, I can adapt the seating based on the occasion—whether it’s a quiet morning coffee or a gathering with friends.
Adding some cushions can enhance comfort without taking up too much space.
I also consider using materials that can withstand the weather, making it easier for me to keep everything in shape year-round.
If I want to get creative, I might throw in a small table for snacks or drinks.
Even a few poufs can double as extra seating when the friends come over.
Incorporating plants around the seating area helps it feel more inviting and blends the space with my garden.
It’s all about creating a relaxed vibe that encourages me to spend time outdoors.
Incorporate LED Lighting
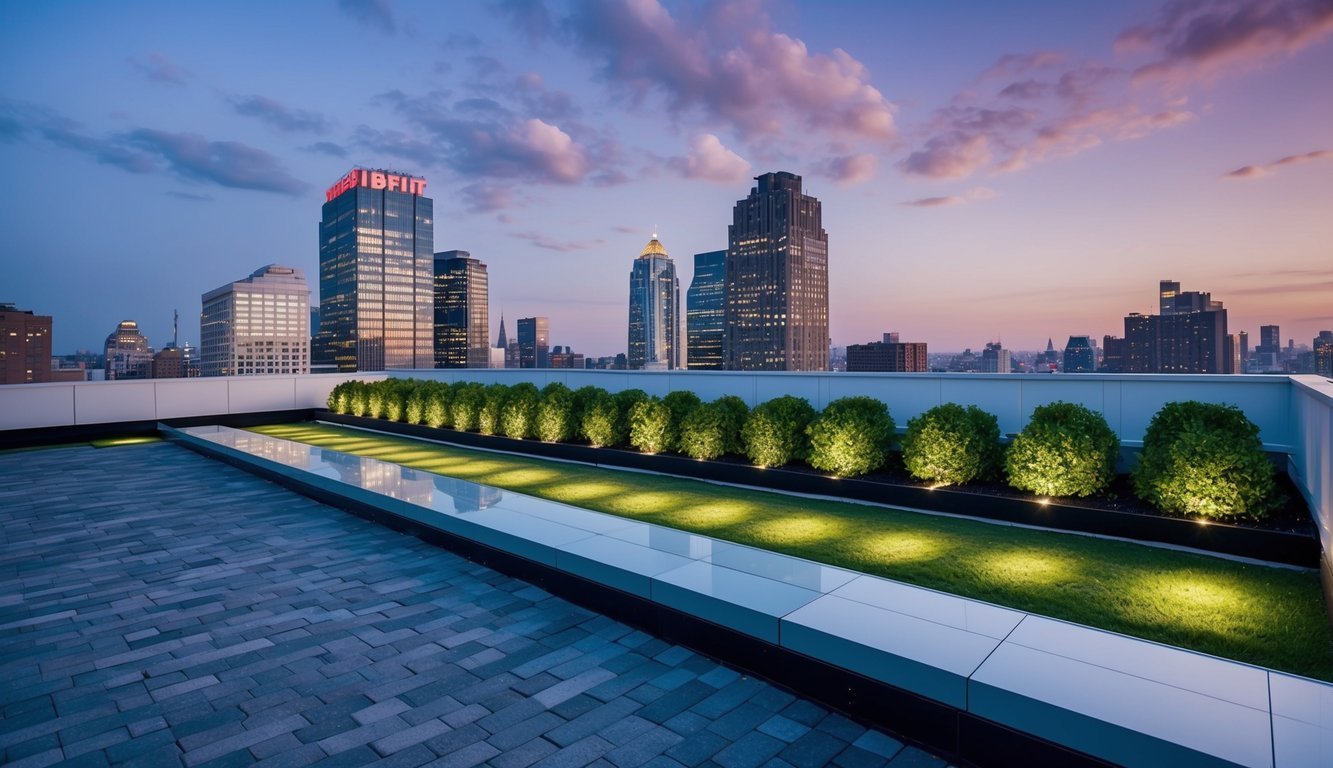
Adding LED lighting to my rooftop garden has made a huge difference.
It extends the hours I can enjoy my space, especially in the evenings.
I love using string lights or lanterns to create a cozy atmosphere.
They’re energy-efficient and come in various designs to match my style.
For functional lighting, I install spotlights or downlights.
These help me navigate the space safely when it’s dark.
Plus, they highlight the plants beautifully.
I place lights strategically to illuminate pathways and seating areas.
This not only enhances the garden’s aesthetics but also adds a sense of safety.
Timers can be handy too.
I set my lights to turn on automatically at dusk, so I don’t have to remember to do it.
Using solar-powered LED options is another great choice.
They save energy and reduce my electric bill while still providing ample light.
Incorporating LED lighting has truly transformed my rooftop garden into a vibrant and inviting space.
8) Introduce Pollinator Attractors
To create a vibrant rooftop garden, I like to include plants that attract pollinators.
Bees, butterflies, and other pollinators are essential for a healthy ecosystem.
By adding the right flowers, I can support their populations while enhancing my garden’s beauty.
I choose native plants that thrive in my city’s climate.
These plants often require less maintenance and water.
They also tend to attract local pollinators.
I love creating garden boxes filled with colorful flowers.
Species like coneflowers, bee balm, and lavender are my go-tos.
These plants not only offer nectar but also provide shelter for pollinators.
In addition to plants, I include shallow water sources like birdbaths.
These spots allow pollinators to hydrate safely.
Adding rocks or floating wood gives them a place to land, making it easier for them to drink.
Creating a pollinator-friendly space enriches my rooftop garden.
It’s rewarding to know I’m contributing to the environment while enjoying a lush green space up top.
9) Establish a Watering Schedule
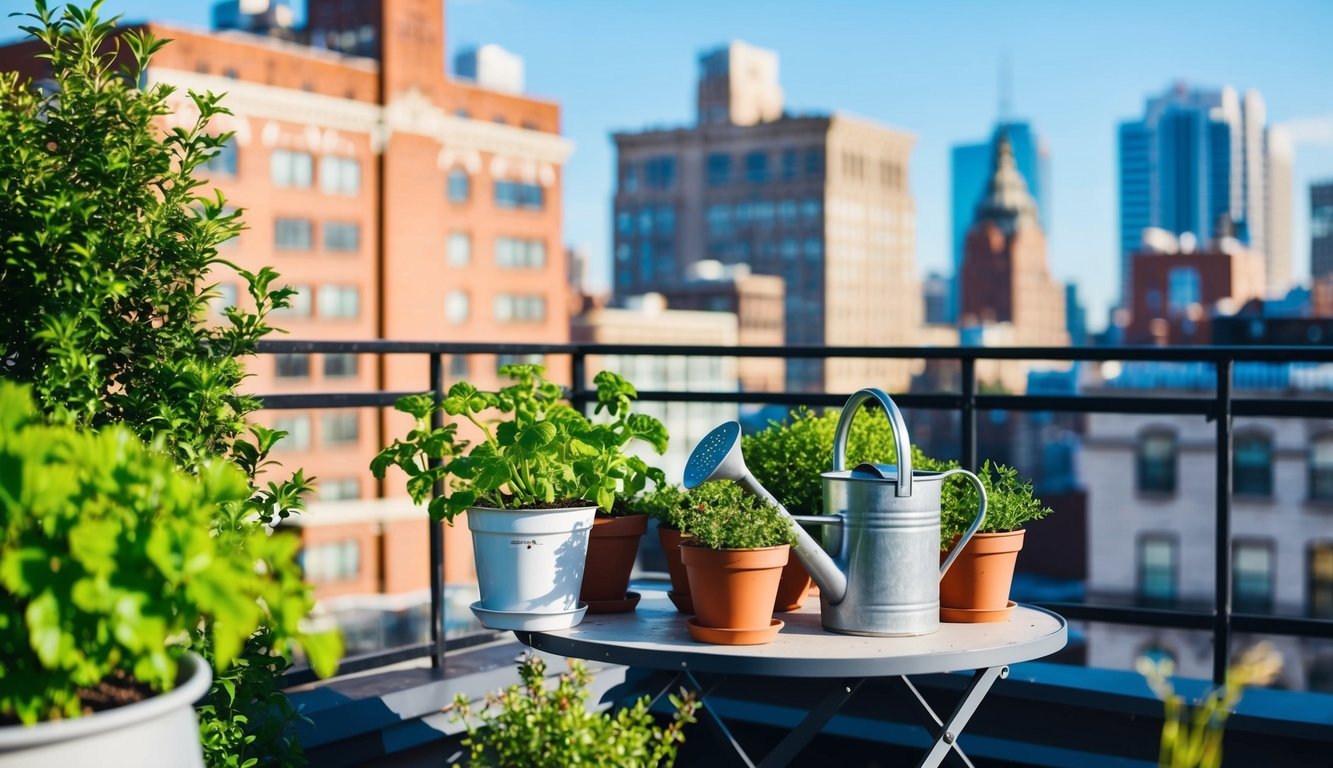
Setting up a watering schedule is crucial for keeping my rooftop garden thriving.
I like to check the moisture level of the soil first.
If the top inch feels dry, it’s time to water.
I usually water early in the morning or late in the afternoon to prevent evaporation.
This timing helps ensure that plants get enough moisture without stressing them during the heat of the day.
For containers, I aim for deep watering.
This means saturating the soil until water starts to drain out of the bottom.
It encourages roots to grow deeper, making them more resilient.
I also adjust my watering frequency based on the season.
During hot, dry spells, I might water every day, while cooler, rainy periods require less.
Lastly, I keep an eye on my plants.
They give me clues when they need water, like drooping leaves or dry soil.
By staying attentive, my garden remains healthy and vibrant.
10) DesignWithVerticalPlanters
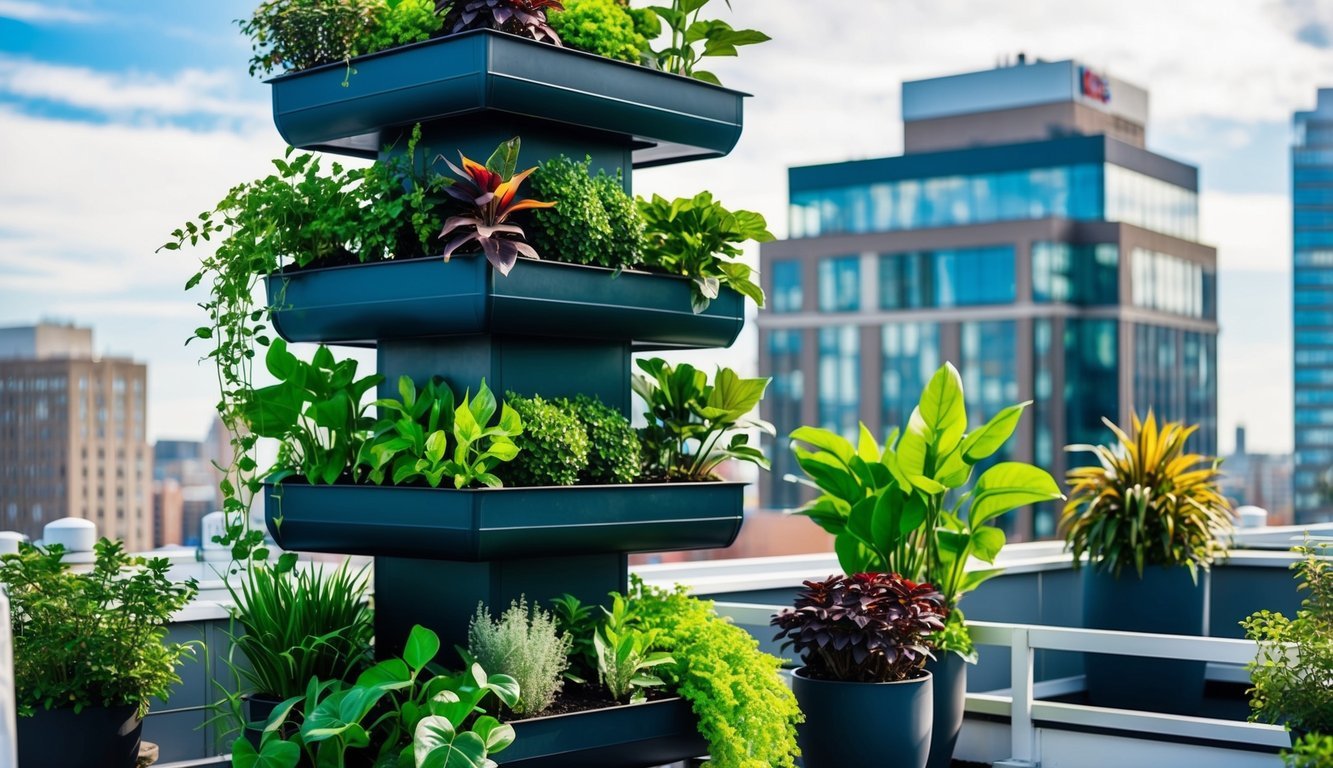
I love using vertical planters to maximize space in my rooftop garden.
They’re perfect for urban settings where I want to grow plants without taking up too much floor area.
Vertical gardening allows me to stack planters, creating a lush and vibrant display.
I find that using wall-mounted planters or trellises can not only save space but also add an interesting design element.
I tend to choose a mix of herbs, flowers, and vegetables for my vertical space.
It’s amazing how much food I can grow when I think upwards rather than just outwards.
When designing my vertical garden, I make sure to consider sunlight and water access for each plant.
This helps ensure that everything thrives in a limited area.
Using different heights and textures can also make my rooftop feel dynamic and inviting.
Plus, vertical planters are a fun way to explore creative arrangements and colors.
Understanding Urban Roof Spaces
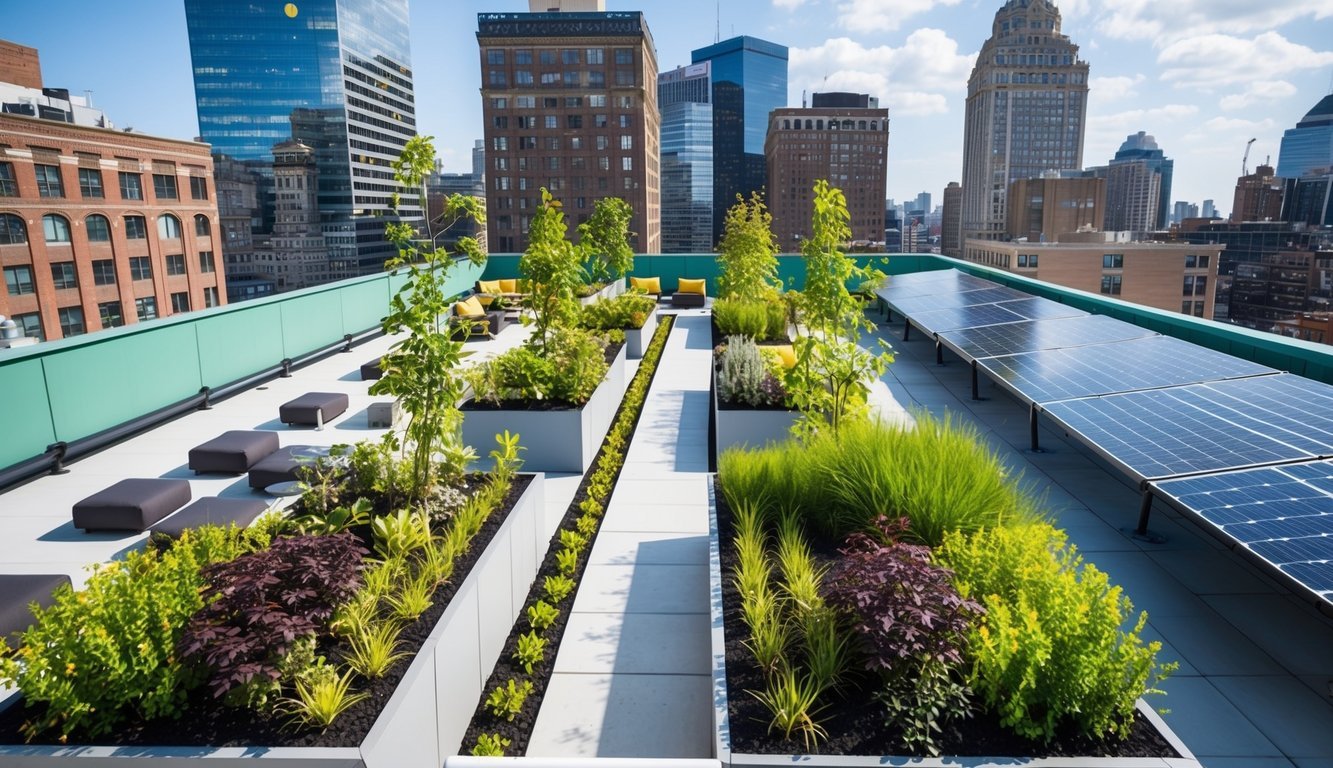
Urban roof spaces offer unique opportunities to transform otherwise unused areas into vibrant green environments.
I’ll explore the benefits these green spaces provide and the types of green roofs available.
Benefits of Green Roofs
Green roofs bring numerous advantages to urban settings.
They help improve air quality by absorbing pollutants and carbon dioxide, which is crucial in cities with high traffic and industrial activity.
Here are some key benefits:
- Reduced Heat Island Effect: They cool down rooftops and lower surrounding temperatures.
- Stormwater Management: Green roofs absorb rainwater, reducing runoff and preventing flooding.
- Biodiversity: They create habitats for various species, supporting local ecosystems.
- Aesthetic Value: Brighten the urban landscape and provide a calming atmosphere for residents.
These benefits contribute significantly to a healthier urban environment.
Types of Green Roofs
There are two main types of green roofs: extensive and intensive.
Each has unique characteristics suited for different goals and space limitations.
Extensive Green Roofs:
- They are lightweight and require minimal maintenance.
- Typically feature low-growing plants like sedums and herbs.
- Ideal for small building rooftops due to their easy setup.
Intensive Green Roofs:
- These roofs are heavier, supporting a broader variety of plants, including shrubs and small trees.
- They require more maintenance and a deeper planting medium.
- Perfect for creating rooftop gardens or recreational spaces.
Choosing the right type of green roof depends on your goals, available space, and the structural capacity of your building.
Preparing Your Roof
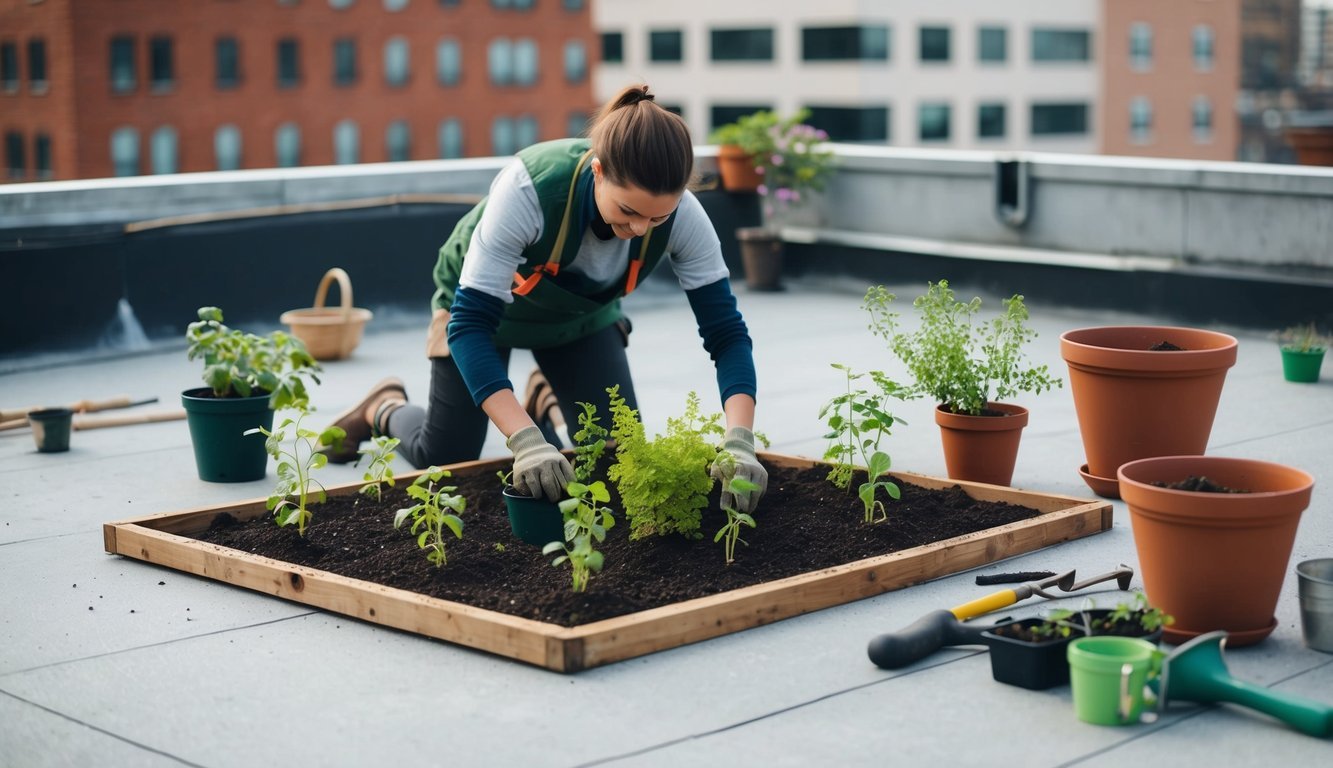
Before creating my green space, I need to ensure my roof is ready for the transformation.
This involves checking the structure’s integrity and selecting the right plants that will thrive in my environment.
Here’s what I’ve learned about these crucial steps.
Assessing Roof Structure
First things first, I need to check if my roof can handle the extra weight.
Green roofs consist of soil, plants, and water, which can be heavy.
I’ll examine the following:
- Weight Capacity: Most roofs can support around 20-30 pounds per square foot. If I’m unsure, I might consult a structural engineer for a professional assessment.
- Material: I’ll look at whether my roof is flat or sloped and what materials it’s made from—this will affect drainage and plant selection.
- Drainage System: Proper drainage is key to avoid water accumulation. I may need to install a drainage layer or ensure existing systems can handle extra runoff.
Taking these steps will help ensure my roof is structurally sound and safe for my new green adventure.
Choosing the Right Plants
Once you’re confident in your roof’s integrity, it’s time to pick the right plants.
I want to choose those that will thrive in the rooftop environment.
Here’s my plan:
- Drought-tolerant Plants: Focus on succulents, herbs, and native plants that require less water and can handle sun exposure.
- Weight Considerations: Make sure to choose lightweight plants and containers. They are a must to prevent unnecessary strain on the roof structure.
- Maintenance: Choose low-maintenance plants to save time and effort. You want your green space to be enjoyable, not a chore.
By selecting plants that are suited for your rooftop conditions, you can create a lovely and sustainable space.

